Before I decided to make a brown ale , I didn’t know much about it except that the few I’ve tasted was good. When reading up on recipes it seemed that the British version is a bit sweeter than its counterpart in the US. True or false, I decided to do a recipe for an American Brown Ale since I enjoy dryer beer more and in fact, it turned out really good!
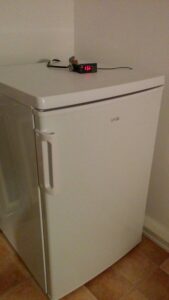
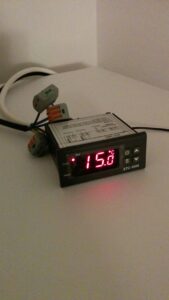
Prior to making this batch I had purchased a fridge and a controller unit named STC-1000+ to be able to control the fermentation temperature in a more advanced manner.
After much thought I decided for a half size fridge since a full sized would’ve been too big for my small apartment, and the space can become useful in the future. One of the benefits of having a full sized is that two 30 liter fermenters can fit nicely at the same time, while the half sized of course only fit one. This is also the reason why I decided for a half sized fridge since I’m doing batches that are not even filling up one 30 liter container, I didn’t see a reason to expand the storage. I might brew bigger batches in the future, but brewing more often than bigger will have to do for now. There’s also the possibility to have to separate fridges to be able to make two different batches, or use one for cold crashing while the other is fermenting another batch.
Well, like I said, possibilities but as mentioned, the upside for a full sized was not big enough. Besides all the planning and thinking about sizes, another challenge saw its light when I realized that most smaller fridges have a freezer box in the top which makes the room where my fermenter will be a lot smaller and didn’t even fit. After much browsing and searching, I did find a fridge, without freezer box, big enough to hold my 30 liter fermenter, still small, low on power consumption and to top it all off, it was cheap!
The controller unit STC-1000+ is a bit more advanced than its named brother, STC-1000. Instead of just being able to set a temperature, this + model can do it on a program, raising or lowering temperature after X days or hours. It can also be expanded with another temperature probe which means I can control two fridges with one unit. Albeit a nice feature, I think I rather buy another unit instead so that the fridges are independent of each other.
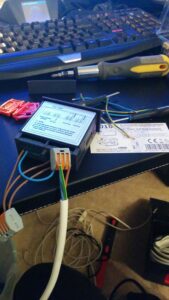
Building the controller unit was fun and not as difficult as I thought on beforehand. All in all, the fridge and the STC controller unit cost 2500SEK and together with the gifted chilling coil, they’re the best investments to this brewery yet.
Alright, enough about the damn cool stuff, what about the actual beer that this post is all about? As mentioned in the beginning, it turned out good! As this was the first beer being temperature controlled throughout the fermentation, I didn’t notice that big of a difference and I’m guessing it depends on the type of beer made and also the fact that I’m comparing a style I haven’t brewed before. Will the next experiment be a pale ale perhaps?
Even though cold crashing outside on the balcony works, it depends entirely on how good I’ve been to the weather gods and this is most unreliable.. So trying out the additional benefit of the new fridge had great success as well, now I can cold crash during all seasons without sacrificing anything!
This time however I didn’t use gelatine, mostly because of my family and friends that are vegetarians and I want them to be able to taste my beer. The beer turned out really shiny and clear anyway so perhaps it’s not needed at all. I might use it in the future if I really want to make a clear pilsner for example.
I found the bitterness in this beer being very tasteful without taking over and I might redo this recipe in the future. If I do it, I think I’ll lower the amount of roastiness just a bit, but that will come later because my curiosity for other and previous styles is too big now that I can further control the result!
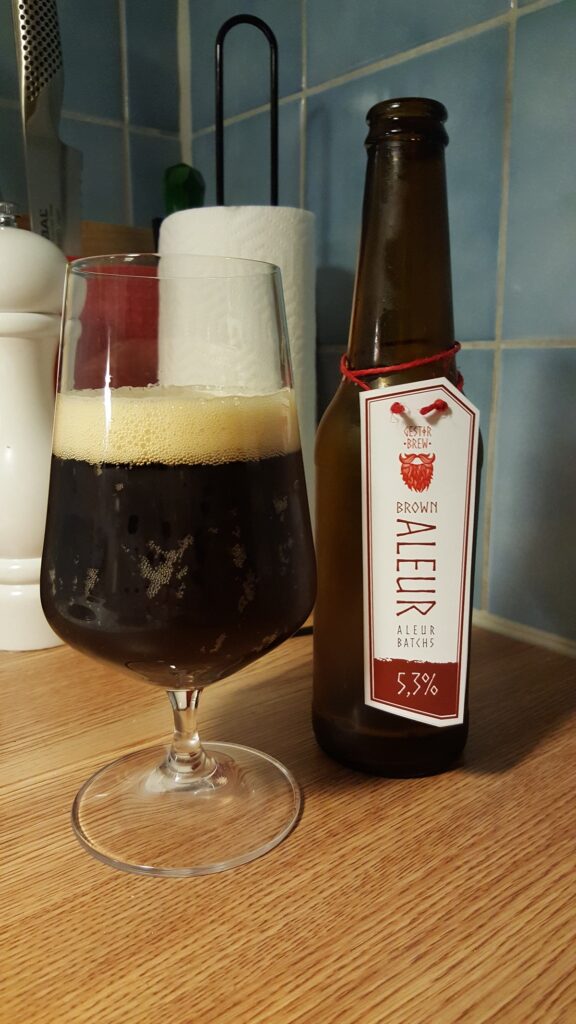
info
- Style - American Brown Ale
- Hops - East Kent Goldings, Cascade, Target
- Yeast - Nottingham Ale
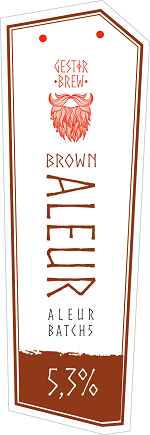
- ABV - 5.3%
- IBU - 37

